The Proxy That Made My Timeline Slower: A 4K Editing Autopsy

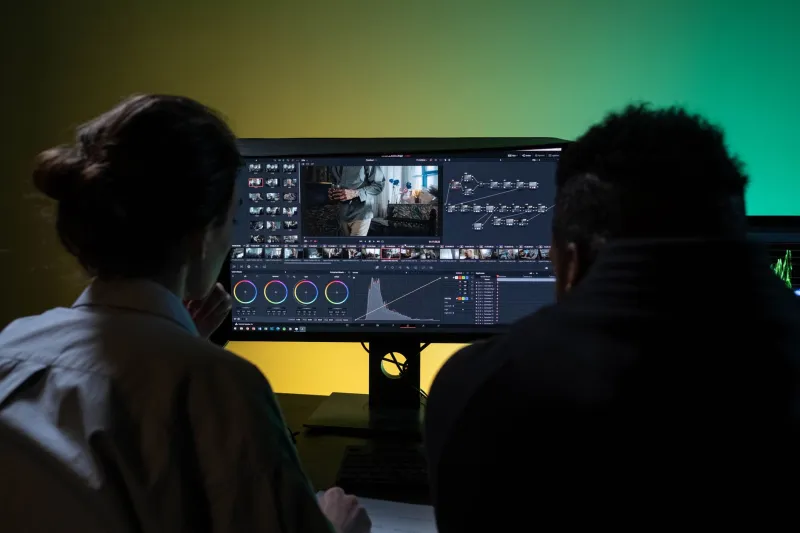
Photo: Josehine23Esradania, Public domain, via Wikimedia Commons
There's a specific kind of frustration that only shows up when you spend an afternoon generating proxy files and the timeline still stutters. Worse: it stutters more than it did before. The footage played back at 19 frames per second natively, you did the responsible thing, you built proxies, and now you're watching 14.
If that sounds familiar, you're not imagining it. On a fast Apple silicon Mac, a proxy workflow can absolutely be slower than native editing — not because proxies are a myth, but because a handful of quiet settings turn them into dead weight. This is a walk through the ways that happens, plus a checklist you can actually use before your next export deadline.
The Proxy Paradox in One Sentence
A proxy only helps when it reduces work faster than it adds work. Most of the slowdowns indie editors hit come from breaking that balance — a proxy that's the wrong size, the wrong codec, or sitting on the wrong drive.
Where Optimized Media Quietly Backfires
Let's start with DaVinci Resolve, since its Optimized Media feature is the most misunderstood tool in the indie toolkit.
When you right-click a clip and generate optimized media, Resolve isn't thinking about your timeline. It's thinking about your source. If your source is 6K H.265 and your optimized media format is set to ProRes 422 HQ at full resolution, you have not made a proxy. You have made a second, larger master, and you now have two copies of heavy footage competing for the same drive.
Three specific traps show up again and again:
Non-integer scaling. A 3840×2160 source scaled to 1920×1080 is clean — exactly half. A 4096×2160 DCI source forced into a 1920×1080 proxy is not, and the GPU spends extra cycles on resampling during playback. Same story with 6K footage squeezed into a 1080 proxy at an awkward ratio. Set the proxy resolution as an exact divisor and the decode path gets cheaper.
Half-res optimized media replacing full-res when you export. Resolve has a setting for whether optimized media is used during final render. If it's switched on and your optimized format was 8-bit with any compression, you may be handing a client a delivery that never touched the original pixels. Proxies and renders should travel separately.
Proxy generation running against your cache drive. Both proxy files and the cache land in the same folder by default. On a 512 GB internal drive, that folder hits six figures of gigabytes and the system starts paging to disk mid-scrub. Nothing about the proxy is slow — your storage is.
Premiere's Version of the Same Problem
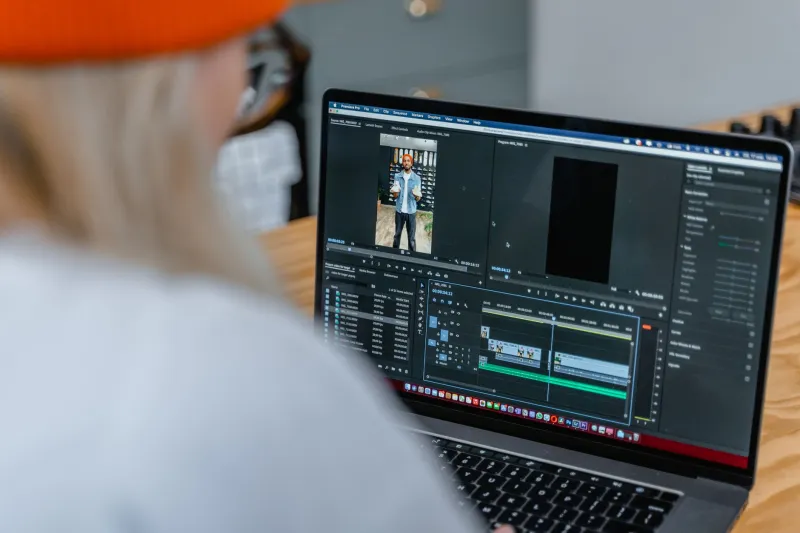
Adobe's proxy workflow in 2026 is genuinely decent, but the default ingest settings are where people get burned. The most common mistake is choosing H.264 as the proxy format because the file sizes look friendly. H.264 proxies are cheap to store and expensive to decode — you've swapped a hard-to-decode original for a hard-to-decode copy, just smaller. The gain is marginal.
ProRes Proxy or DNxHR LB is the better call for 4K and up on a Mac. Yes, the files are bigger. No, that doesn't make them slower to scrub — long-GOP compression is what costs you frames during playback, not bitrate.
Two more Premiere-specific gotchas:
- Attached vs. detached proxies. If the proxy's timecode or frame count doesn't match the original, Premiere may refuse to attach, and you'll quietly be editing the full-res media while the proxy sits unused in the folder. Check the badge on the clip before you assume it worked.
- Proxy destination on an external drive connected over USB 3. Thunderbolt and USB4 handle a proxy stream without blinking. A USB 3 drive holding both proxies and project scratch can saturate its bus on the first big multicam sequence. Local SSD first, external archive later.
The Fast Mac Is Not the Bottleneck
Here's the thing worth internalizing: on an M-series Mac, native 4K ProRes playback is easy. Native H.265 from a mirrorless body is where things get ugly, because that decode is heavier than the timeline. If you shoot ProRes or external RAW, proxies may buy you almost nothing. If you shoot 10-bit H.265 from a hybrid camera, proxies are close to mandatory.
That's the paradox in a nutshell. The format you shoot determines whether a proxy helps, and the settings you pick determine whether it helps more than it hurts.
What Actually Speeds Things Up
Based on the setups that hold up under real deadline pressure:
- Match proxy resolution to an exact fraction of the source — half or quarter, nothing weird.
- Use an intra-frame codec — ProRes Proxy, DNxHR LB, or Resolve's low-bitrate optimized formats. Never H.264 for the proxy itself.
- Keep proxies on the fastest internal or Thunderbolt SSD, separate from the media folder and the cache folder when you can afford three locations.
- Turn off the "use optimized media in render" option unless you're doing dailies.
- Rebuild the timeline preview cache after proxies attach — stale cache clips are a classic source of mysterious slow scrub.
- Test one clip before generating a whole card. Ten minutes of testing has saved more editors than any preset.
A Practical Checklist Before You Hit Generate
Ask four questions in order. What codec did I shoot? Is the proxy an exact scale factor? Which drive is it going to? And did Premiere or Resolve actually attach it?
If any answer is fuzzy, stop and fix it. A proxy workflow should be boring — generate, attach, edit, export. The moment it starts feeling like a second job, you've probably built a proxy that costs more than it saves, and a fast Mac has nothing to do with it.
The tools are not the problem. The defaults are.