One Timeline, Twelve Deliverables: A No-Re-Edit Workflow for Vertical, Square, and Widescreen Cuts
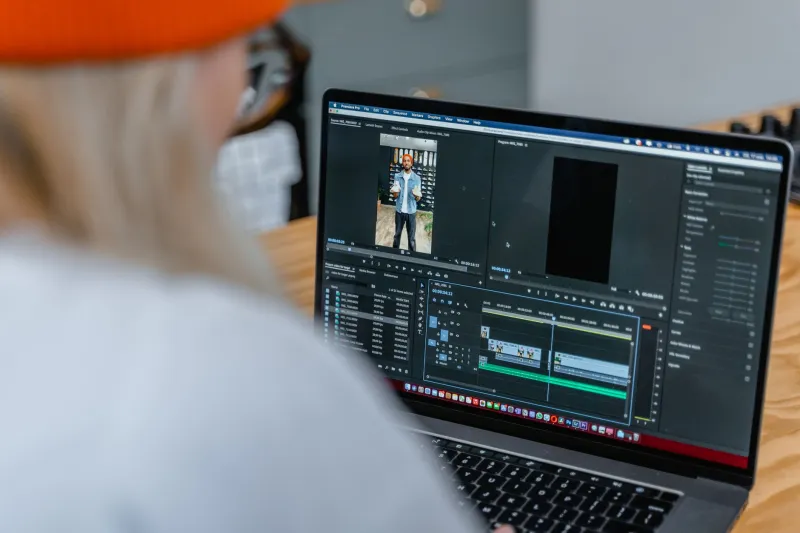
There's a specific kind of despair that hits when a client emails: "Love the cut! Can we also get a vertical for Reels, a square for the feed, and a 30-second version?" You just spent three days on a timeline built entirely around 16:9 composition, and now you're staring at a rebuild that will eat your weekend.
It doesn't have to. The trick is treating your master timeline as a source of truth and every other format as a derivative — something generated from the master, not recreated beside it. Get that structure right once and the twelve-deliverable request becomes an afternoon instead of a week.
Start by Separating Picture From Frame
The core idea: your edit decisions live in the timeline, and the frame shape is a parameter layered on top. In Resolve, that's the Timeline Settings → Mismatched Resolution behavior, combined with adjustment clips. In Premiere, it's sequence settings plus the Auto Reframe effect. Either way, you're changing how the existing cut is viewed, not rebuilding it.
A practical approach that works in both apps:
- Finish the master in its native ratio (usually 16:9). Lock the edit. Everything downstream references this.
- Duplicate the sequence for each deliverable — never edit the master directly. Name them clearly:
MASTER_16x9,DELIV_9x16,DELIV_1x1. - Change the sequence/timeline resolution on the duplicates. Most NLEs will letterbox or pillarbox by default, which is your starting point.
- Apply a reframe effect to the duplicate so the software tracks the subject as the frame crops in.
The Reframe Question: Auto vs. Manual
Auto-reframe tools have gotten genuinely good. They do subject detection and keep faces roughly centered as the crop moves. They're also dumb in predictable ways: they'll follow a passing extra, drift during fast pans, and get confused by two people in frame.
My rule of thumb: let auto-reframe do the first pass, then manually keyframe every shot that matters. A talking head on a tripod? Auto handles it. A handheld walk-and-talk? You'll be correcting it shot by shot anyway, so do it deliberately.
In Resolve, the reframe happens through the inspector on the clip or via a dedicated reframe plugin. In Premiere, Auto Reframe lives in the Effects panel and gives you Position, Framing (subject/interest), and Motion Tracking speed controls. Set the tracking speed to slower than default — fast tracking looks robotic and draws the eye to the crop.
Safe Zones Are Not Optional
Here's where a lot of multi-format deliveries quietly fall apart. A composition that's well-framed for 16:9 can put a subject's head right where a vertical platform overlays its caption UI.
Build a safe-zone overlay into your duplicate sequences. Most platforms reserve the top and bottom 15–20% of a vertical frame for UI elements and captions. That means your subject's face needs to live in the middle band, not at the top edge. If your master shot has headroom for 16:9, you'll need to punch in on the vertical version — and that changes the crop, which is why you reframe before you check safe zones.
A quick workflow note: create a reusable graphic overlay (a transparent PNG or an adjustment-layer title) that marks the caption-safe band. Drop it on top of your duplicate timeline, do your reframing, then disable it before export.
Captions: Burn-In, Sidecar, or Both?
Different platforms want different things. Some auto-generate captions and prefer no burn-in. Others reward burned-in text because it survives muting. Practical answer: deliver both.
- Export a clean version with no burned-in captions plus an SRT sidecar for platforms that ingest them.
- Export a second version with burned-in captions for the places that don't.
Transcribe once. Resolve's speech-to-text and Premiere's transcription both produce timed captions you can style once and reuse across every duplicate timeline. Style them for the largest safe zone (vertical), then check they don't collide with anything in the square and widescreen versions.
Naming Conventions That Save Your Sanity
When you're exporting a dozen files, a naming scheme is the difference between a clean delivery folder and a folder full of final_v3_actualfinal.mp4. Use something predictable and sortable:
CLIENT_PROJECT_FORMAT_DURATION_VERSION_DATE
For example: ACME_SpringLaunch_9x16_30s_v01_2026-11-12.mp4. It's a mouthful, but it sorts correctly and tells your client exactly what they're looking at without opening a single file.
Export from a consistent preset per format. Build those presets once, save them, and reuse them — do not hand-tune bitrate settings every delivery. A vertical cut usually wants a higher bitrate than a 16:9 of the same duration because the crop is tighter and compression artifacts are more visible.
The QC Checklist Before You Hit Send
This is the part that separates a professional delivery from a "here you go, hope it's fine." Run every file through this list:
- Frame check: Open each export and confirm the ratio is actually what you intended — not letterboxed inside a different ratio.
- Face check: Scrub through and confirm no subject's head is cropped at the top or hidden behind a caption UI zone.
- Text check: Any on-screen graphics, lower thirds, or titles need to be re-created for the new frame, not just cropped. A lower third designed for 16:9 will look absurd squeezed into vertical.
- Caption check: Sync, line breaks, and legibility at mobile size.
- Audio check: Loudness normalization per platform (most target around -14 LUFS for streaming/social; broadcast is different). A quick loudness pass saves a re-delivery.
- Duration check: If the request included a 15- or 30-second cut, confirm the trimmed version actually tells a complete thought instead of stopping mid-sentence.
- Playback check: Watch each file start to finish on a phone. Not a monitor. A phone, in portrait, held the way a viewer will hold it.
That last one catches more problems than any software tool. The platform's own player is the final arbiter, and it will find every awkward crop and cut-off caption you missed.
The Real Payoff
Once this structure is in place, the second deliverable request is basically free. The master timeline stays locked, the duplicates regenerate from it, and the QC pass becomes routine. The clients who ask for twelve cuts today will ask for twelve more next quarter — and by then, you'll have a system that treats it as an hour of work instead of an emergency.