The $150 Insurance Policy: Calibrating Your Budget Monitor Before It Costs You a Reshoot

Photo by Photo by Sou Jest on Unsplash on Unsplash
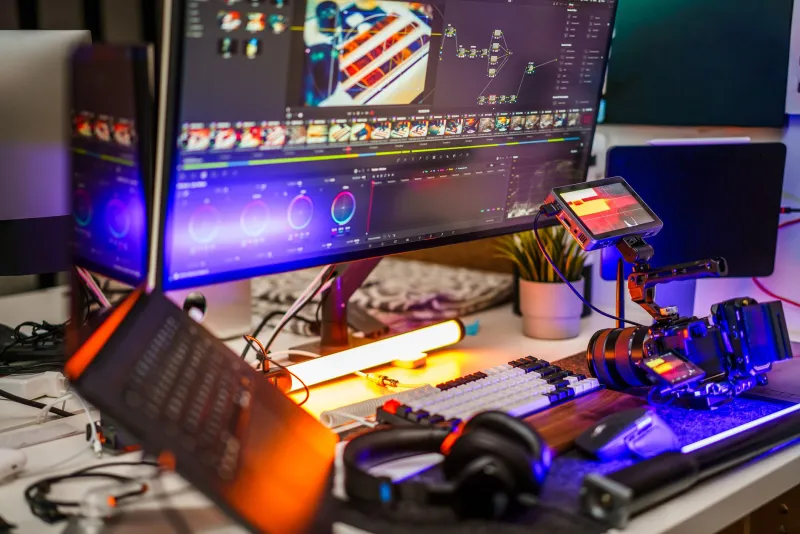
Your edit bay has a dirty secret: the monitor you trust is probably lying to you. Not in a dramatic, dead-pixel way. In the quieter way that matters—slightly green shadows, a magenta cast in skin tones, blacks crushed just enough that your night scene looks moody on your desk and like a black rectangle on a client's iPad. That gap is how a $300 monitor turns into a $3,000 problem.
Why a Budget Panel Can Wreck a Good Shoot
Most affordable HD monitors ship in a vivid, cool, contrast-boosted preset because that is what looks impressive on a showroom floor. It is not what a colorist would call accurate. If you grade on an uncalibrated panel, you are essentially guessing with extra steps. You push skin tones warmer to compensate for a blue cast. You lift the shadows because your monitor crushes them. Then the client opens the file on a phone, a laptop, or a calibrated TV in a conference room, and the footage looks nothing like the version you approved.
That is when the expensive conversations start. A single local reshoot day with talent, location, and gear can easily run $1,000 to $3,000 in the US. Even if you do not reshoot, revision cycles burn time you could spend on paying work. A calibrator does not guarantee perfect color, but it removes one major variable from the chain. Think of it as insurance for your footage—not glamorous, just cheaper than the alternative.
What $150 to $250 Buys in 2026
The good news is that you do not need a $3,000 reference monitor to get useful calibration. You need a colorimeter and a workflow. Two names dominate the affordable end of the market: Calibrite and Datacolor. A Calibrite Display SL or a Datacolor SpyderX2 will land somewhere in the $150 to $300 range depending on the sale. Both include software, and both can profile a decent SDR panel without turning your weekend into a physics project.
If you want more control without paying for premium software, pair the hardware with DisplayCAL, the free open-source profiling app, and ArgyllCMS. DisplayCAL is not pretty, and the first setup can feel like assembling IKEA furniture without the little wrench. But it gives you detailed patch sets, verification reports, and the ability to save calibration LUTs. For a small post suite on a budget, that combination is the sweet spot: affordable hardware, free software, and a repeatable process.
One caveat: calibration cannot fix a truly weak panel. If your monitor has narrow viewing angles, poor uniformity, or a 6-bit panel with aggressive dithering, the profile will improve things but not turn it into a mastering display. Calibration manages the damage. It does not perform miracles.
Step-by-Step: Calibrating a Small Post Suite
-
Warm up the monitor for at least 30 minutes. Clean the screen with a microfiber cloth. Turn off nearby windows, overhead fluorescents if you can, and any desk lamp aimed at the panel. Calibration in a dark room with a single annoying light source is a waste of time.
-
Reset the monitor to a neutral preset. Turn off dynamic contrast, eye-care modes, HDR effects, and anything with a name like Vivid or Game. Set color temperature to D65, gamma to 2.2 or BT.1886, and brightness around 100 to 120 cd/m² for SDR work. Use the monitor's buttons, not just the software.
-
Install your calibrator software or DisplayCAL with ArgyllCMS. Place the colorimeter flat against the screen according to the manufacturer's instructions. If your monitor has a glossy panel, avoid pressing hard enough to create pressure marks.
-
Choose your targets. For indie SDR work, D65 white point, gamma 2.2, and 100 to 120 cd/m² is a practical starting point. A 200-patch run is fine for most small suites. If you are grading a commercial deliverable, go denser.
-
Save the profile with a date in the name. Do not overwrite your old profile until you have verified the new one. Run a verification pass and look at the Delta E numbers. On a budget panel, an average under 2 and a maximum under 4 is a reasonable outcome. If the numbers are wild, try a different monitor preset before blaming the calibrator.
-
Decide how the profile gets used. If your monitor accepts a 3D LUT, load the calibration LUT in the monitor and keep Resolve in a standard Rec.709 viewing setup. If not, use the ICC profile for color-managed apps, and rely on scopes inside Resolve. Do not stack a calibration LUT and an ICC profile on top of each other unless you enjoy making new problems.
-
Recheck every four to six weeks, and after any move, cable swap, or GPU driver update. Calibration drifts. Your memory of what looked right drifts faster.
Where Calibration Ends and Judgment Begins
A calibrated monitor will not tell you whether a shot should be warm or cool. It will not fix bad lighting, and it will not make a client approve a grade they simply do not like. What it does is give you a known starting point. When the client says the skin tones look green, you can check your scopes, compare against a trusted reference, and know whether the issue is your grade or their uncalibrated laptop.
That is the real return on a $150 calibrator. You stop chasing ghosts. You stop guessing. And you dramatically reduce the odds that a color mismatch turns into a reshoot, a free revision, or a client relationship that sours over something you could have prevented with an hour of setup.