Twenty Free LUTs, One Face: What Skin Tones Reveal Before the Demo Reel Does

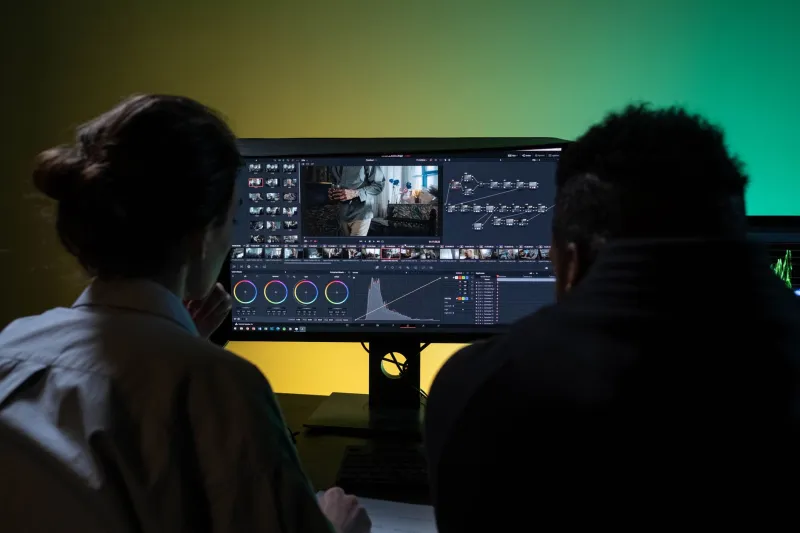
Photo by Photo by Jefferson Sees on Unsplash on Unsplash
Every free LUT pack comes with the same sales pitch: a montage of backlit surfers, neon alleys at night, and a drone shot of a canyon. What it never shows you is a mid-tone face lit by a $12 LED panel and a window that went blue ten minutes before you rolled. That's the shot that decides whether your short feels like a film or a filter.
So I did the boring thing. I pulled 20 free LUT packs — the ones that circulate on YouTube comment sections, Gumroad freebies, the "cinematic pack vol. 3" folders that come bundled with a plugin trial — and ran them against the same three clips. One face, one mixed-light interior, one outdoor close-up at golden hour. Here's what held up and what didn't.
The Test Setup (and Why It's Deliberately Unflattering)
I shot everything on a Sony FX30 in S-Log3, a Canon R6 Mark II in C-Log3, and an iPhone 15 Pro in Apple Log, because that's what most indie sets around here actually look like in 2026. No diffusion, no makeup touch-up, no gaffer standing by with a bounce. Just a talented actor, a practical lamp, and a window.
Each LUT got loaded into Resolve 19 via a Color Space Transform set to match the camera, then repeated in Premiere with a basic Lumetri input LUT. No secondaries, no skin qualifiers, no grading rescue. If a look needed a rescue to look human, that counted against it.
This matters more than the demo reel suggests. A LUT is a baked decision — contrast curve, saturation shift, and often a hidden color-space assumption. When those assumptions don't match your camera profile, the damage lands disproportionately on skin, because skin sits right in the middle of the luminance range where LUT curves do the most work.
What the Twenty Looks Actually Did to Skin
I'm not going to list all 20 by name, because the specific packs change every few months and half of them are repackaged versions of each other. Instead, here's the pattern that emerged, sorted into four buckets.
The teal-and-orange cosplayers (nine of the twenty). These are the ones with the film-still thumbnail. On the outdoor golden-hour clip they looked genuinely nice — warm skin, cool shadows, that familiar blockbuster push. On the interior mixed-light clip they turned my actor's forehead orange and her neck green. Not subtly. Casting-director-noticing green. The problem isn't the look itself, it's that the LUT assumes a single, clean color temperature and a fairly wide highlight headroom. Feed it a mixed source and it splits the difference by pushing the mid-tones around, which is exactly where faces live.
The "film emulation" packs (five). These were the most interesting. Several included halation and grain nodes, which I appreciated, and they generally respected highlight rolloff better than the trendy ones. But a handful crushed the toe of the curve hard enough that darker skin tones lost separation in the shadows. If your talent has a deeper complexion and your key light is soft and low, a heavy toe is a real problem. Two of the five were genuinely usable after a slight exposure trim. The rest needed the curve opened up, at which point you're grading, not LUTing.
The flat "log-to-rec709" utility LUTs (four). Boring, predictable, and honestly the best of the batch. No personality, no drama, but they treated skin like skin and left the creative decision to me. If you're going to download free looks, this is the category to keep. They're a starting line, not a finish line.
The Instagram-ready punch packs (two). Saturation at the top, contrast at the bottom, no headroom anywhere. Fine for a 15-second vertical clip on a phone. Catastrophic on a 4K timeline where somebody's going to project it. Highlights clipped before I could even see the rolloff, and skin went plasticky.
The Preflight Workflow I Now Use Before Any Shoot
After this exercise I stopped treating LUTs as a post decision. They're a pre-production decision, because they influence how you light.
Here's the short version of what I do now:
- Grab a still of your actual talent under your actual key light. Not a stock clip. Not a test chart. A real face on your real set, with the real window behind them.
- Load the LUT in your NLE and set your color management first. A LUT applied before a proper input transform is being asked to do two jobs and will fail at both. Camera color space in, timeline color space set, then LUT.
- Look at the mid-tones, not the vibe. Squint. Does the face still read as a face? If the cheeks and the shadow side of the neck are trending different hues, the LUT is fighting your lighting.
- Check the highlight rolloff on something white. A shirt, a napkin, a practical bulb. If it clips to a flat block of color, you've lost the whole reason people shoot log.
- Test the darkest skin in your cast. This is the step everyone skips. A look that flatters one complexion and muddies another isn't a look, it's a bug.
- Save the ones that pass as a node, not a layer. In Resolve, drop the LUT into a node and grade under it. In Premiere, put the LUT on an adjustment layer with the input transform beneath. You want to be able to dial it back to 40% the moment it misbehaves.
The Uncomfortable Conclusion
Of the 20 free looks I tested, I kept three. Three. And two of those were flat utility transforms with no artistic opinion whatsoever.
That's not a knock on free LUTs as a concept — it's a knock on the way they're marketed. The montage clip is doing the same thing a spec sheet does: showing you the best-case scenario and letting you assume it generalizes. It doesn't. A LUT is a color decision made by someone who has never met your actor, never seen your set, and never once worried about whether the neck matches the face.
Use them. Just vet them on a face before you trust them with one. It takes twenty minutes and saves you a reshoot you can't afford.
The next time a pack lands in your downloads folder, load it up against your own footage first. Then decide whether it's a look or a liability.