The Extra Glass You Paid For: Budget Focal Reducers and the Sharpness They Quietly Eat
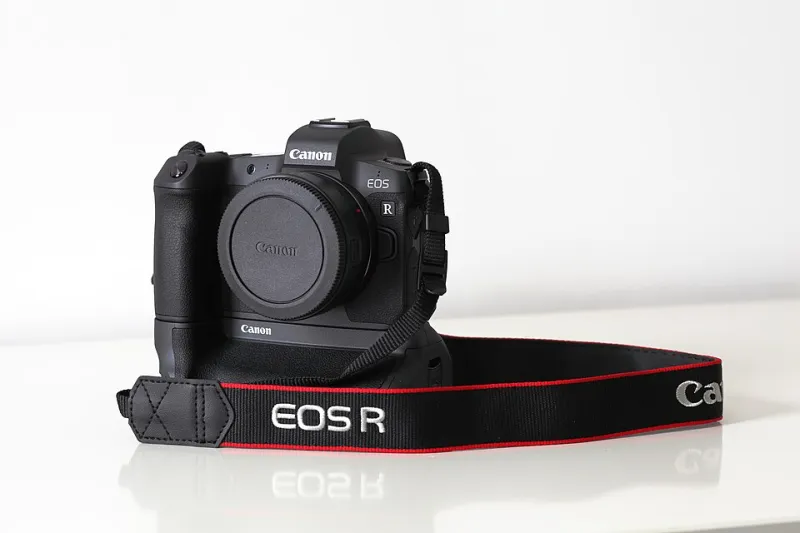
Photo: Bobulous, CC BY-SA 4.0, via Wikimedia Commons
There is a moment in every budget lens plan when the math looks too good. You have an APS-C body, a bag of full-frame glass, and a crop factor that turns a favorite 35mm into a tighter 52mm. Then you see a focal reducer for $120 that promises the original field of view plus an extra stop of light. It sounds like a firmware update for your whole lens collection. It is not. It is a small optical element stack sitting between your lens and your sensor, and it can change the look of every frame you shoot.
That does not make budget speed boosters a scam. It makes them a trade. The useful question is not whether the cheap one is as good as the expensive one. It is whether the trade shows up in your actual work, and whether you can see it before a client does.
The Appeal Is Real
On a crop-sensor mirrorless body, a focal reducer does two jobs at once. It squeezes the image circle down to fit the smaller sensor, which restores much of the wide-angle look your full-frame lens was designed for. It also concentrates the light, so an f/2 lens behaves closer to f/1.4 in exposure terms. For indie shooters working with vintage primes or full-frame glass on a $700 body, that is a genuine runtime advantage. You get wider coverage for handheld and gimbal work. You get a little more headroom in low light. You avoid buying a new native wide lens for a shoot that may not pay for it.
A plain adapter just adds distance. A focal reducer adds distance plus optics. That difference is the whole story.
How We Looked at It
We treated this like a gear check, not a lab bench. The test kit was deliberately ordinary: a 24MP APS-C mirrorless body, a 20MP Micro Four Thirds body, a 50mm f/1.8 full-frame prime, a 28mm f/2.8 vintage lens, a native 35mm crop lens, a $25 plain adapter, and two budget focal reducers in the $100 to $150 range. We shot a brick wall at three distances, a backlit window with a bare bulb, and a high-contrast chart on a tripod. We repeated each setup at wide open and at f/4, then compared center and corner crops at 100 percent.
This is not a scientific resolution test. It is the kind of check any owner can repeat in an afternoon. That matters because sample variation in budget adapters is real. One copy can be decent. The next can be decently misaligned.
Where the Cheap Ones Win
At the center of the frame, the better budget reducers held up surprisingly well. At f/4 and beyond, the difference between a plain adapter and a focal reducer was often less dramatic than the difference between either one and native glass. If your subject lives in the middle of the frame and you are stopping down for interviews or daylight exteriors, a cheap reducer can be a smart crop-factor fix. It can also be a reasonable way to get a wider field of view from a lens you already own, especially for gimbal moves, car mounts, and wide establishing shots where corner softness disappears into motion.
The extra stop is not a myth, either. It is not free, but it is useful. If you are shooting available-light interiors on a small crew, that stop can mean a lower ISO or a shorter lighting setup. For run-and-gun work, that is often worth more than corner-to-corner perfection.
Where They Quietly Cost You
The problems show up at the edges and in the wrong light. Wide open, budget focal reducers tended to soften the corners and smear fine detail. On the brick wall, mortar lines that were crisp through a plain adapter turned into a soft suggestion. On the chart, corner contrast dropped. Some of that improves by f/4. Some of it does not.
Vignetting was the other tax. A reducer concentrates the image circle, and cheap ones can leave a darker rim that looks like a lens problem but is really an adapter problem. Then there is flare. Point a budget reducer at a window or a practical light and you may get ghosting or a veiling haze that the same lens does not produce on a plain adapter. For a clean commercial look, that is a headache. For a moody narrative scene, it might be a happy accident. You need to know which one you are buying.
Mount play is the quiet killer. A slightly loose adapter can make a manual lens feel like it is focusing on a moving target. It can also shift the optical axis just enough to soften one side of the frame. If the adapter rocks on the body or the lens, return it. No firmware update fixes mechanical slop.
A Field Test You Can Do in Ten Minutes
Before you trust a cheap focal reducer on a paid shoot, do a quick controlled check. Put the camera on a tripod and frame a textured wall with fine detail. Shoot the same lens through a plain adapter and through the reducer at the same aperture. Compare the center and all four corners at 100 percent. Then shoot toward a bright window to check flare and veiling glare. Finally, gently rock the lens while the camera is recording. If the image jumps or the focus marks shift, the mount is too loose.
Do this while the return window is still open. The best budget adapter is not the one with the boldest marketing claim. It is the one that stays aligned, holds contrast, and does not make your sharpest lens look like a rental that has been dropped.
The Verdict Is Conditional
A $120 focal reducer can be a smart tool for indie shooters who need a wider field of view, an extra stop, and a cheap path to using full-frame glass on a crop body. It can also quietly turn a good lens into a soft, flaring compromise that costs you more in reshoots and client notes than the adapter saved. The difference is not brand loyalty. It is sample quality, mount tolerance, and the kind of shots you actually deliver.
Buy one for a specific job, test it like a lens, and keep the receipt. If it only earns its place in the center of the frame at f/4, that is fine, as long as you know it before the shoot instead of after the export.